Persist the DB
The todo list was wiped clean every time we launched the container. This is because each container has its own filesystem and removing a container also removes its filesystem. Using volumes, we can persist data and share it across containers.
Container Storage
If a directory mounted into a container is changed from within the container, those changes are also seen on the host machine. Similarily, if we mount that same directory into a new container, we’d see the same files.
There are two approches to persist container data in Kleene, ‘volume’ and ‘nullfs’ mounts. We will eventually use both, but we will start with volume mounts. Volumes provide the ability to mount designated filesystem paths of the host machine into containers.
Persist the todo data with volume mounts
By default, the todo app stores its data in a SQLite database at
/etc/todos/todo.db in the container’s filesystem. While this isn’t the best for large-scale applications,
it works for small demos. We’ll talk about switching this to a different database engine later.
With the database being a single file, if we can persist that file on the host and make it available to the
next container, it should be able to pick up where the last one left off. By creating a volume and mount it
into the directory where the todo.db is stored, we can persist the application data.
As mentioned, we are going to use a volume mount. Kleene manages the volume, including where it is stored on disk, so you only need to remember the volume’s name.
-
Create a volume by using the
klee volume createcommand.$ klee volume create todo-dbYou can verify it has been succesfully created by using the
klee lsvcommand as well as see it’s location in the filsystem usingzfs list. -
Stop and remove the todo app container once again.
-
Start the todo app container, but add the
--mountoption to specify a volume mount. We will give the volume a name, and mount it to/etc/todosin the container, which will capture all files created at the path.$ klee run -d --mount todo-db:/etc/todos webapp -
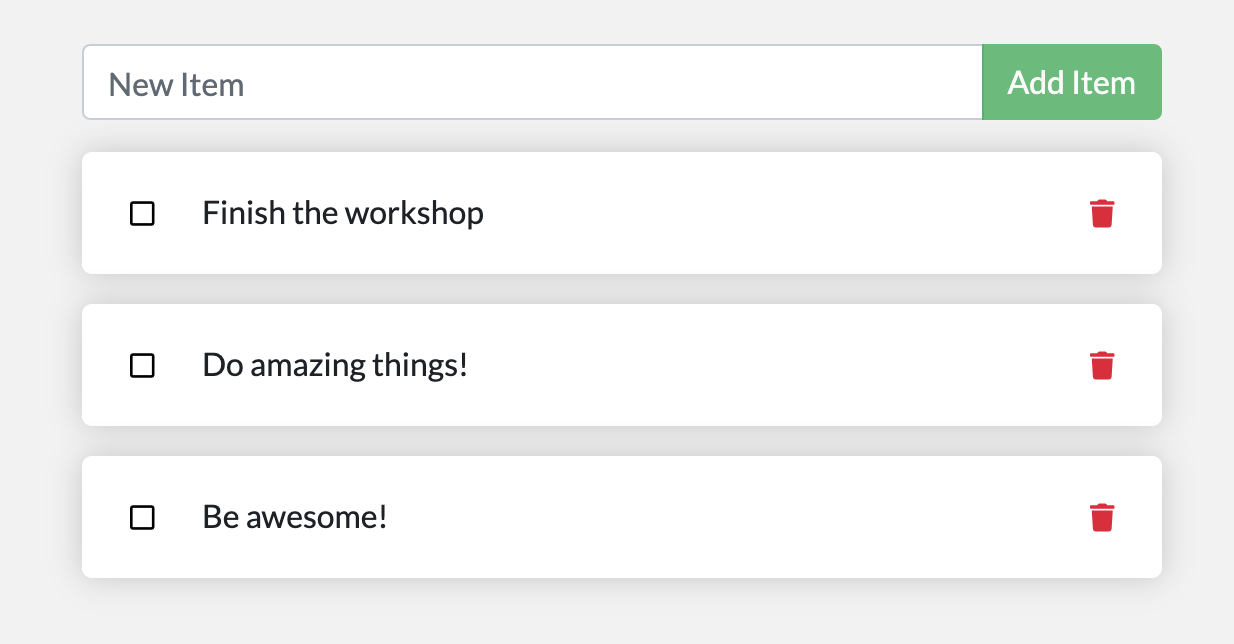
Once the container starts up, open the app and add a few items to your todo list.
-
Stop and remove the container for the todo app using
klee rmc -f <container id>. -
Start a new container using the same command from above.
-
Open the app. You should see your items still in your list!
-
Go ahead and remove the container when you’re done checking out your list.
Hooray! You’ve now learned how to persist data!
Next steps
At this point, you have a functioning application that can survive restarts!
However, you saw earlier that rebuilding images for every change takes quite a bit of time. With nullfs-mounts (which was hinted at earlier), there is a better way!